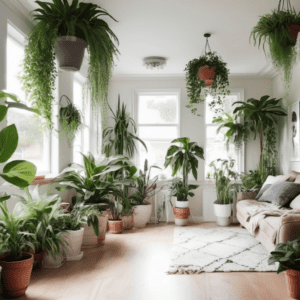
How to Set Up an Aromatic Herb Garden in Your Kitchen
Fresh herbs can transform an ordinary meal into a culinary masterpiece, adding vibrant flavors and aromas that dried alternatives simply can’t match. Creating your own herb garden right in your kitchen isn’t just practical—it’s an affordable luxury that brings nature indoors while elevating your cooking. In this guide, we’ll walk through everything you need to know to set up a thriving aromatic herb garden in your kitchen, regardless of your space or gardening experience.
Why Grow Herbs in Your Kitchen?
Before diving into the how-to, let’s understand why growing herbs indoors makes so much sense:
- Always fresh: Harvest exactly what you need, when you need it
- Cost-effective: Save money by not buying expensive store-bought herbs that often wilt before you use them
- Space-efficient: Even the smallest kitchens can accommodate a few herb plants
- Year-round access: Enjoy fresh herbs regardless of the season or weather outside
- Reduced food waste: Cut only what you need, leaving the rest to continue growing
Having fresh herbs at your fingertips also encourages more cooking at home and experimentation with new flavors—a win for both your health and your taste buds!
Choosing the Right Location
The foundation of a successful kitchen herb garden starts with finding the optimal spot:
Consider Light Conditions
Most culinary herbs need significant light to thrive:
- South-facing windows provide the most consistent light throughout the day
- East-facing windows offer gentle morning sun, perfect for more delicate herbs
- West-facing windows provide afternoon sun but can get hot in summer
- North-facing windows typically don’t provide enough light for most herbs
Pro tip: If your kitchen lacks adequate natural light, don’t worry! Grow lights are an excellent and affordable alternative that can help your herbs thrive even in darker spaces.
Think About Accessibility
Your herb garden should be:
- Within easy reach while cooking
- Away from heat sources like stoves or toasters
- In a spot where you’ll see them daily (this reminds you to care for them)
- Not blocking essential counter space or kitchen functions
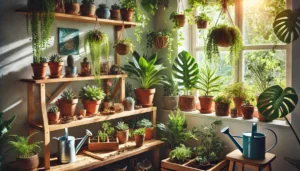
Essential Supplies for Your Kitchen Herb Garden
Setting up your indoor herb garden doesn’t require fancy equipment. Here’s what you’ll need:
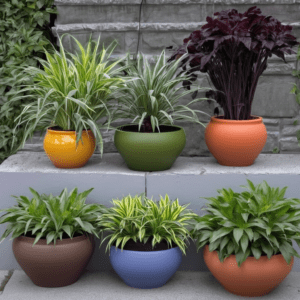
Containers
Choose containers that:
- Have drainage holes (crucial for preventing root rot)
- Match your kitchen’s aesthetic
- Are appropriately sized for each herb (4-6 inch pots work well for most)
Options include:
- Traditional terracotta pots
- Ceramic containers with saucers
- Window boxes
- Specialized herb planters with multiple compartments
- Upcycled containers like mason jars (if modified for drainage)
- Vertical wall planters to maximize space
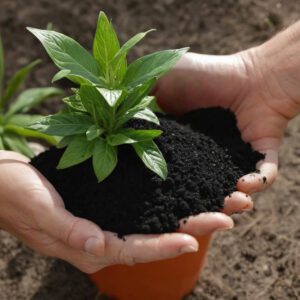
Soil
Not all soil is created equal when it comes to herb gardening:
- Use high-quality potting mix specifically formulated for containers
- Avoid garden soil, which can compact in pots and may contain pests
- Consider adding perlite for improved drainage
Pro tip: Many herbs prefer well-draining soil that’s not too rich in nutrients. A specific herb or cactus potting mix often works perfectly.
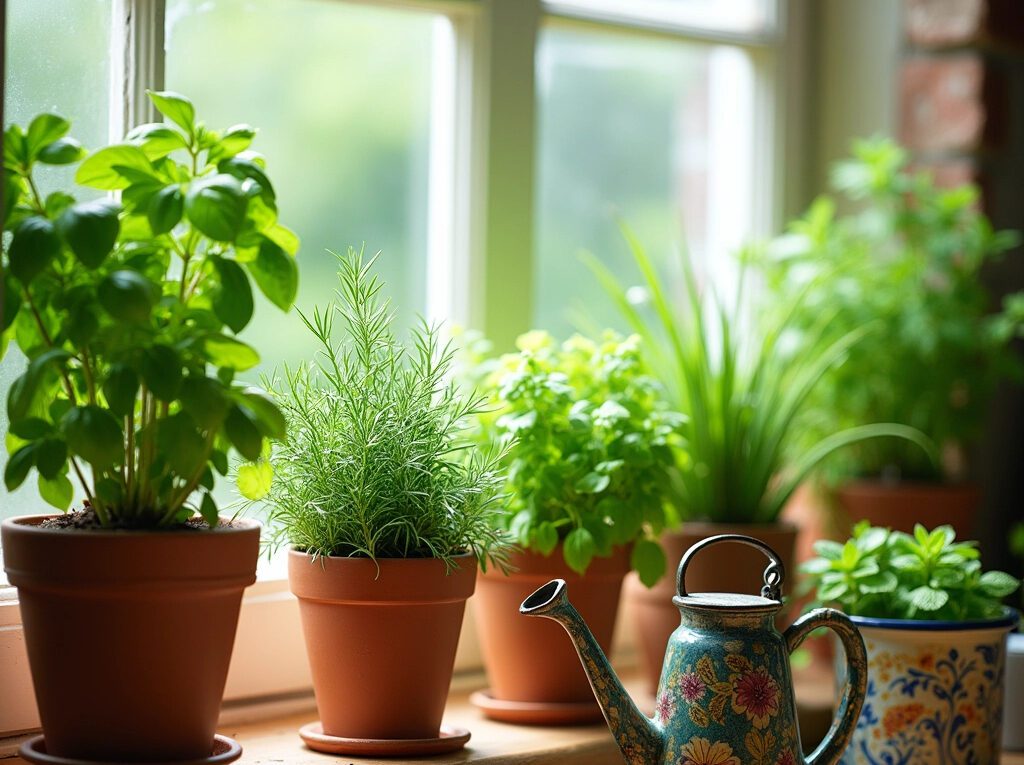
Tools
Keep these basic tools handy:
- Small watering can with a narrow spout
- Kitchen scissors or shears for harvesting
- Small trowel for transplanting
- Plant mister for increasing humidity
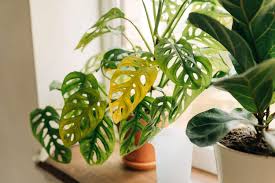
The Best Herbs to Grow in Your Kitchen
While many herbs can grow indoors, some are particularly well-suited for kitchen cultivation:
Beginner-Friendly Herbs
If you’re new to herb gardening, start with these forgiving varieties:
1. Basil
- Loves warmth and light
- Perfect for Italian dishes, salads, and pestos
- Grows quickly from seed or seedlings
- Trim regularly to encourage bushy growth
2. Chives
- Easy to grow and hard to kill
- Adds mild onion flavor to dishes
- Cut outer stems first, allowing center to continue growing
- Will regrow multiple times after cutting
3. Mint
- Grows vigorously (sometimes too vigorously!)
- Great for teas, cocktails, and desserts
- Tolerates lower light conditions
- Keep in its own container as it can overtake other herbs
4. Parsley
- Versatile and nutrient-rich
- Can tolerate partial shade
- Slow to start but long-lasting once established
- Available in flat-leaf (Italian) or curly varieties
More Adventurous Options
Once you’ve mastered the basics, try these flavorful additions:
5. Rosemary
- Woody perennial with intense flavor
- Needs excellent drainage and less frequent watering
- Loves sunlight and slightly drier air
- Perfect for roasted meats and potatoes
6. Thyme
- Compact growth habit makes it ideal for small spaces
- Drought-tolerant once established
- Many varieties to explore (lemon, French, English)
- Essential for soups, stews, and Mediterranean dishes
7. Cilantro/Coriander
- Fast-growing but shorter lifespan
- Harvest leaves for cilantro and seeds for coriander
- Prefers cooler temperatures
- Succession planting ensures continuous supply
Setting Up Your Kitchen Herb Garden: Step by Step
Follow these simple steps to create your aromatic oasis:
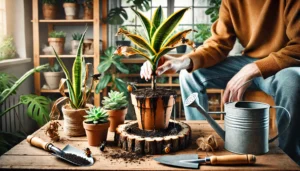
1. Prepare Your Containers
- Ensure containers have drainage holes
- Add a layer of small stones or broken pottery pieces at the bottom for extra drainage
- Fill with appropriate potting mix, leaving about an inch from the top
2. Plant Your Herbs
- For seedlings: Create a hole in the soil, place the plant at the same depth it was in its original container, and gently firm soil around it
- For seeds: Follow packet instructions for planting depth and spacing
- Label each herb (especially important when plants are young)
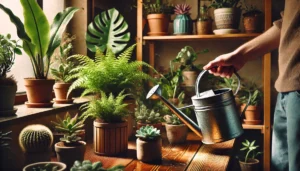
3. Water Thoroughly
- Water until it runs through the drainage holes
- Allow the soil to dry slightly between waterings
- Different herbs have different water needs—research your specific varieties
4. Position for Success
- Place in your chosen sunny spot
- Rotate containers occasionally for even growth
- Group herbs with similar water and light needs together
Maintaining Your Kitchen Herb Garden
Once established, your herb garden needs regular attention to thrive:
Watering Wisely
- Check soil moisture before watering—the top inch should feel dry
- Water at the base of plants, not on leaves
- Morning watering is ideal
- Reduce frequency in winter when growth slows
Harvesting Properly
- Begin harvesting when plants are established with multiple stems
- Cut no more than one-third of the plant at once
- Harvest outer leaves first
- Regular harvesting encourages bushier growth
Dealing with Common Problems
- Yellow leaves: Often indicates overwatering
- Leggy, sparse growth: Insufficient light
- White spots: Possible powdery mildew; improve air circulation
- Tiny insects: Aphids or spider mites; treat with mild soap solution
Advanced Tips for Kitchen Herb Success
Take your herb garden to the next level with these professional techniques:
Succession Planting
Start new herb plants every few weeks (especially for shorter-lived herbs like cilantro and dill) to ensure a continuous harvest.
Propagation
Many herbs like basil and mint readily root in water. Cut a 4-inch stem, remove lower leaves, place in water, and transplant once roots develop.
Seasonal Rotation
Adapt your herb selection to the seasons—grow heat-loving herbs in summer and more cold-tolerant varieties in winter.
Transform Your Cooking Today!
With these simple steps, you can create a beautiful and functional aromatic herb garden in your kitchen that not only enhances your cooking but also adds life and freshness to your space. The convenience of snipping fresh herbs while cooking is unmatched, and you’ll quickly notice the difference in flavor compared to store-bought alternatives.
Why wait? Start your kitchen herb garden this weekend with just a couple of your favorite herbs, then expand as your confidence grows. Your taste buds—and your dinner guests—will thank you for bringing these vibrant flavors into your cuisine.
What herbs are you most excited to grow in your kitchen? Share your herb gardening experiences or questions in the comments below!